Well, I've had a creative summer with a nice vacation thrown in and want to share some of my journal pages. Note: I have lots of links thoughout this post, so just click on the highlighted names to see more info or a related video.
I got a bunch of
Stencil Girl stencils recently and had fun playing with them in the following two page spreads. They are designed by
Traci Bautista.
 |
| Embrace Imperfection |
The first quote reads, "Mistakes are proof that you are trying." The second quote reads, "To ensure misery, strive for perfection at all times." Attention all perfectionists (including me): Read those quotes 10 times daily!
Caroline Dube's video using the circle stencil inspired this page. I also used Tim Holtz "embrace imperfection" stamp.
The page below was inspired by a video made by
Traci Bautista using her flower stencil. I primed the pages using black gesso, then sponged magenta, orange, and white acrylic paint through the stencil. I really love these stencils and have used them many times already in different projects.
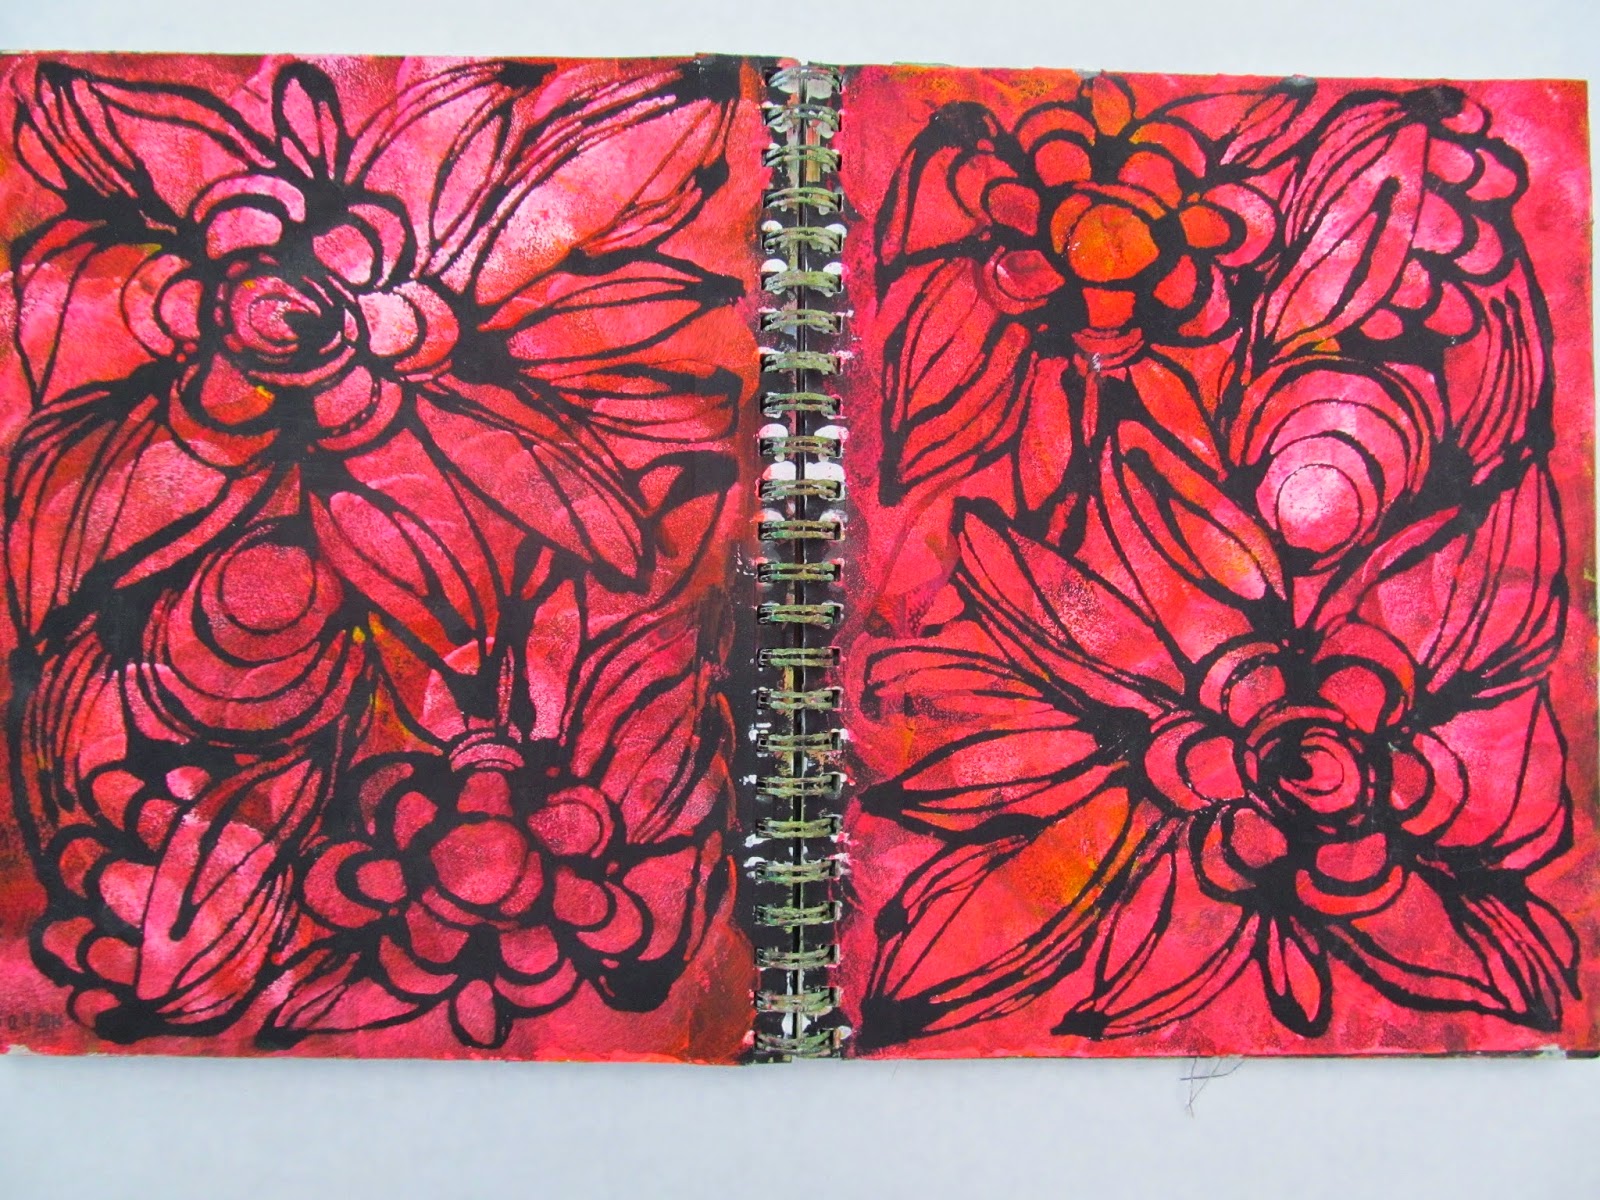 |
| Traci Flowers |
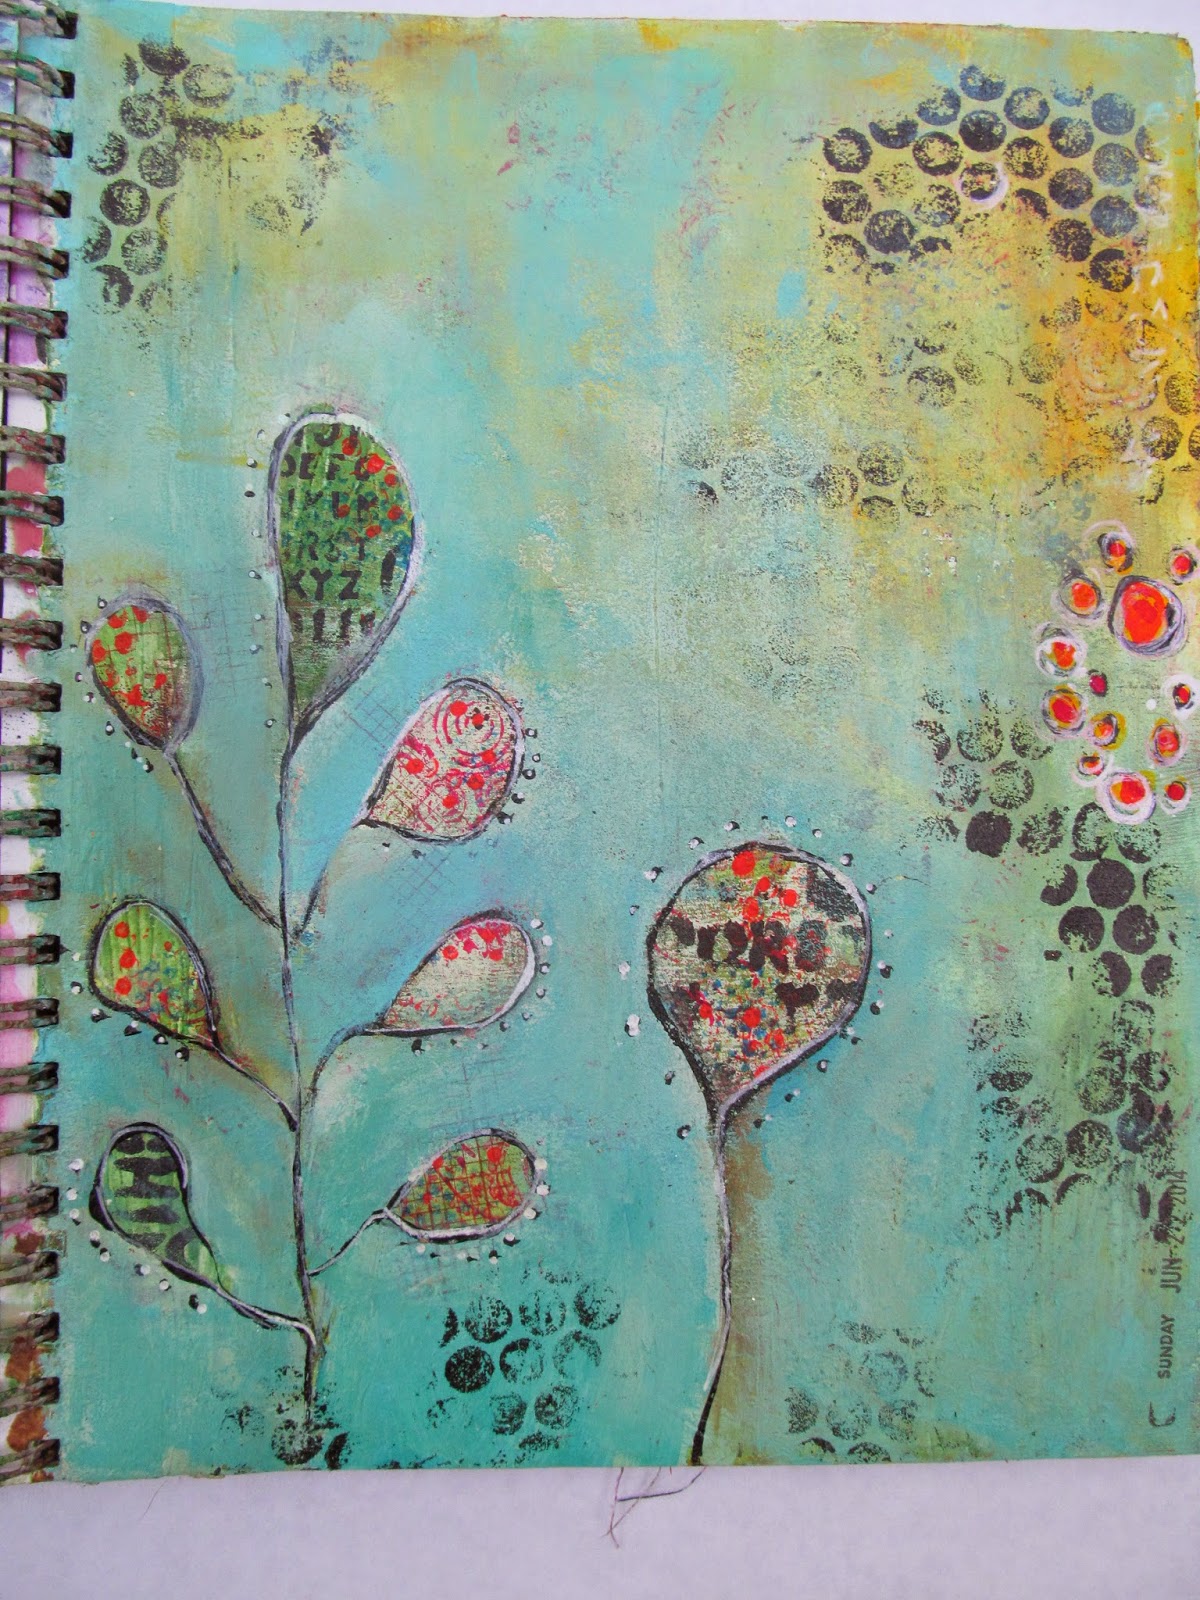
I used
Dina Wakely's acrylic paint in turquoise for the background of Happy Circle Flowers. I LOVE her paints. They are very creamy, dry to a matte finish, and the colors are so beautiful and vibrant! I watched a video a few months back about making these colorful circles and I wish I could find the video to link it. I painted a bunch of them and cut them out and made flowers for this page spread. I also did some sewing as well. What is it about circles that makes me so happy!!!
 |
| Happy Circle Flowers |
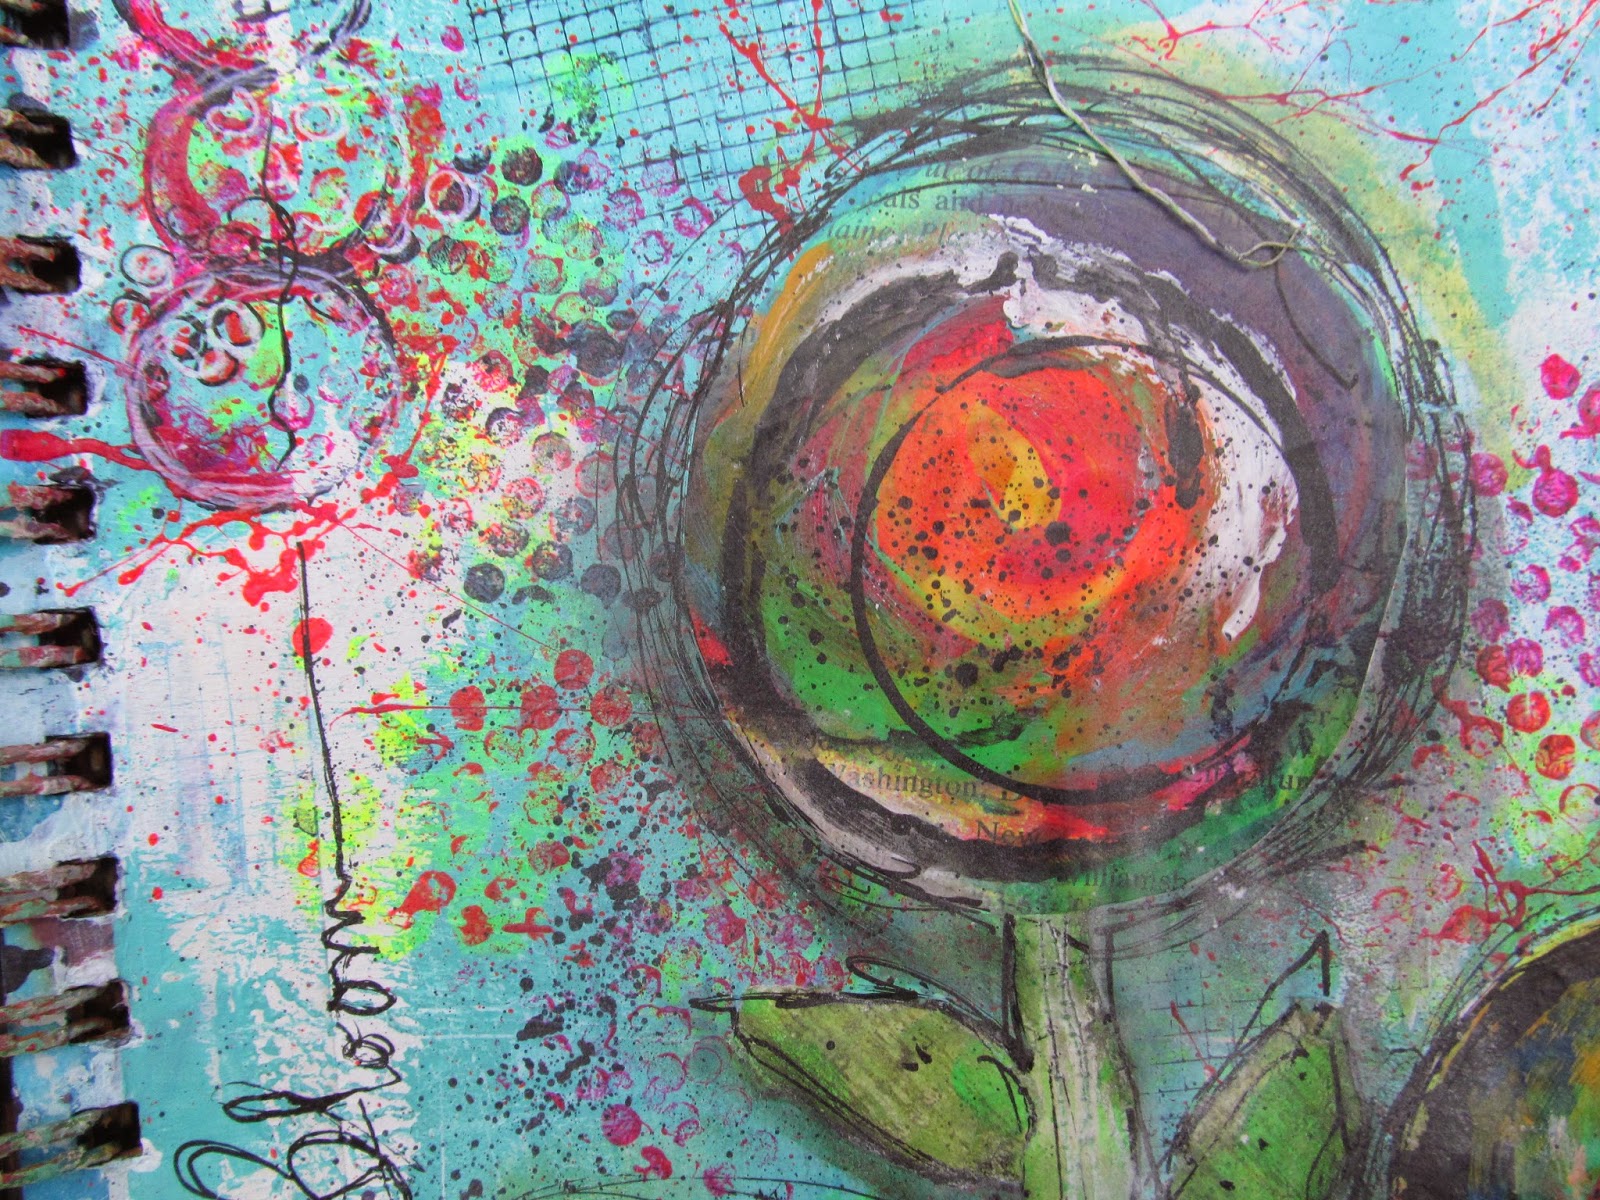 |
| Happy Circle Flowers Detail |
My favorite song this summer is
"Sky Full of Stars", by Coldplay and I was inspired to do the following page spread. It reads, "In a sky full of stars, I think I saw you." Such a happy, positive song!!!
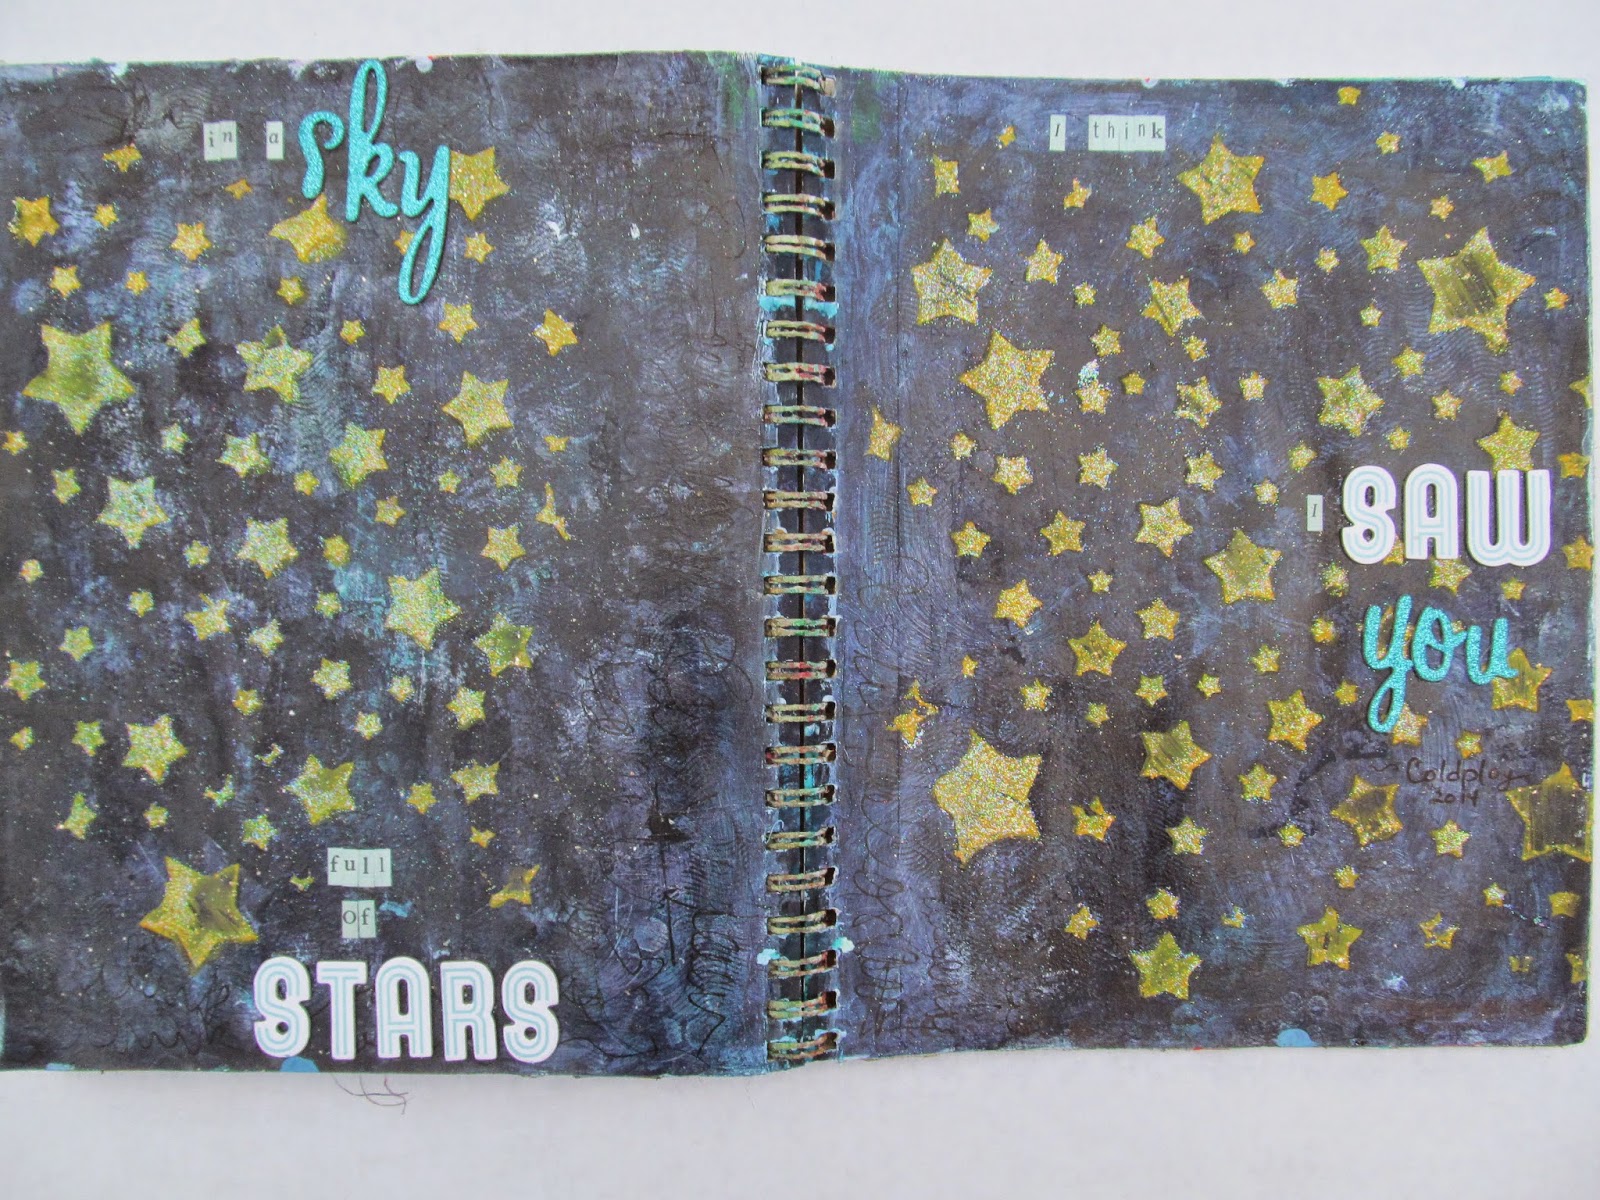 |
| Sky Full of Stars |
I sometimes use my art journal to clean off stencils and use up excess paint. I had one of these pages and decided to use a technique that I've seen artists use to restore order to the chaos. I drew the organic shapes with a pencil over the messy page, then painted the background around them in blue, letting the chaos peek out through the shapes. I don't think it's finished, but it's much better than the mess I had before.
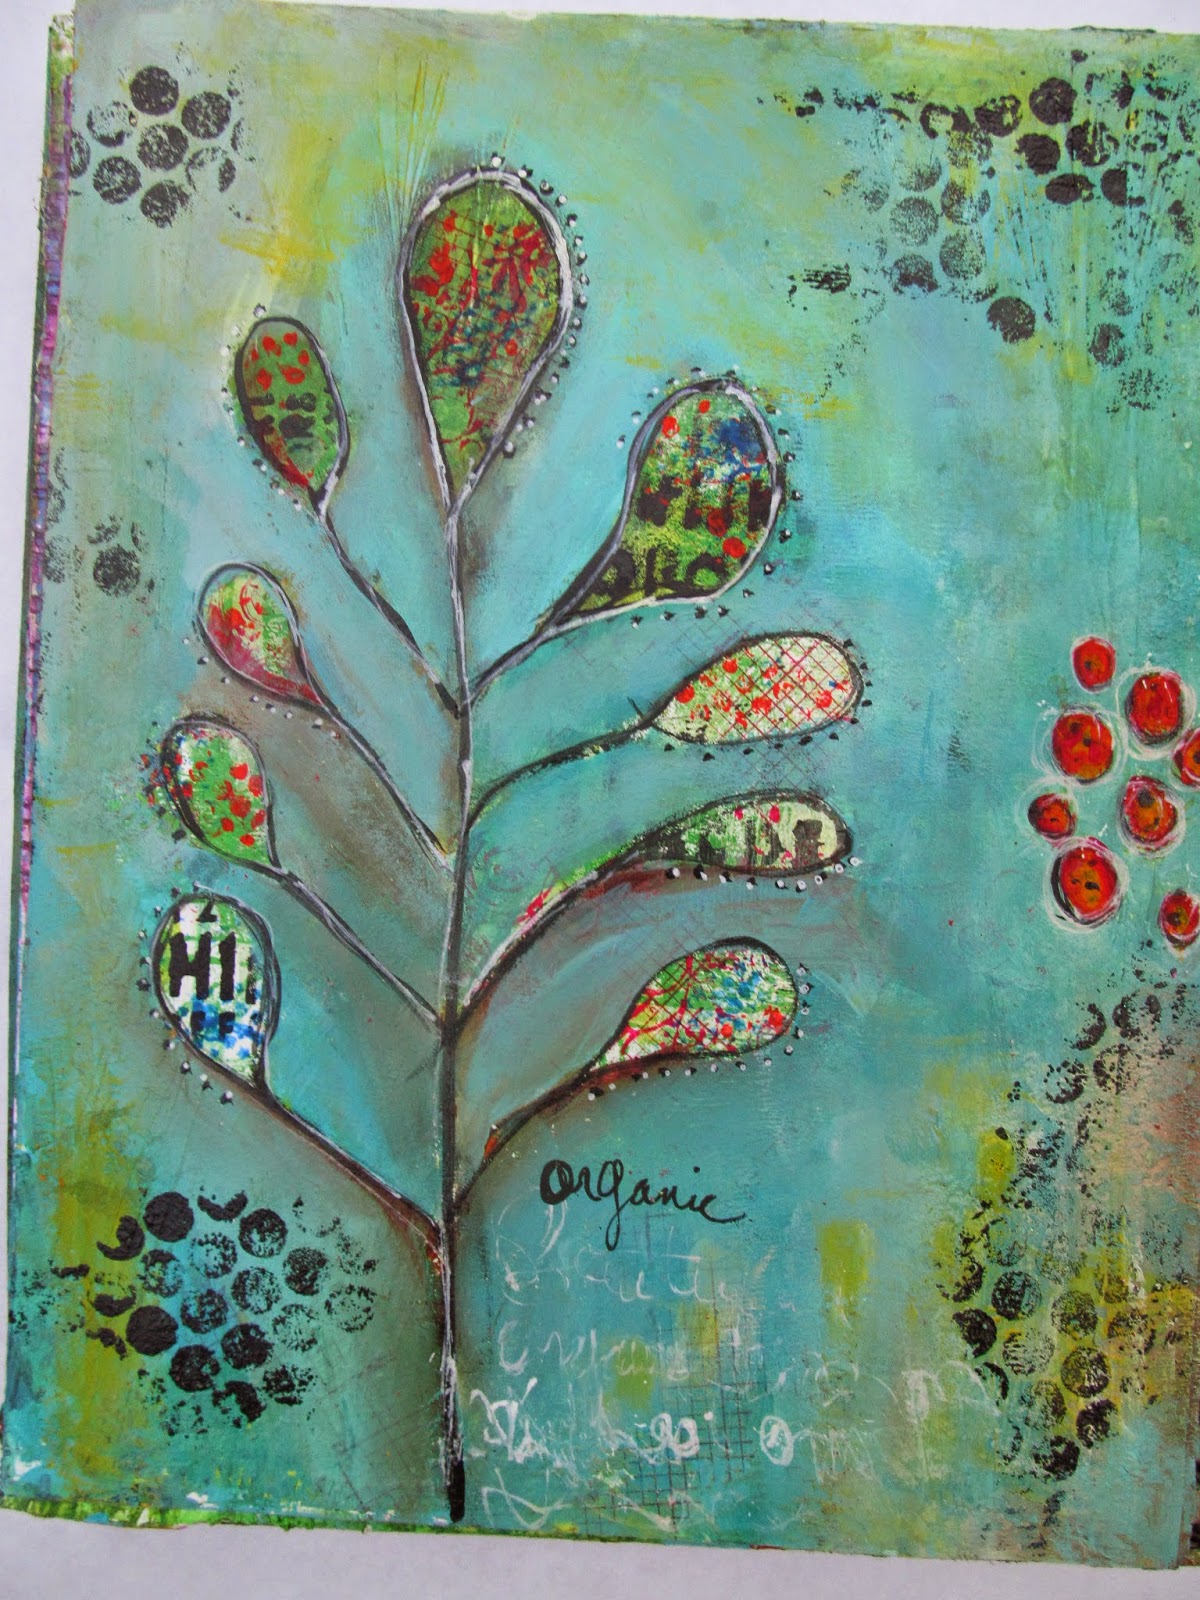 |
| Organic 1 |
 |
| Organic 2 |
I'm not a big fan of pink, but I love to combine magenta and orange. I used molding paste and stamped a poppy stamp into it, then let it dry. I used various colors over the page and it ended up too pastel pink for my liking. Then I used brighter magenta and orange paint, using the same poppy stamp to define the poppies and add some brightness. I used the edge of an old key card to add the grass at the bottom. I think it needs some butterflies or something.
 |
| Pink Poppies 1 |
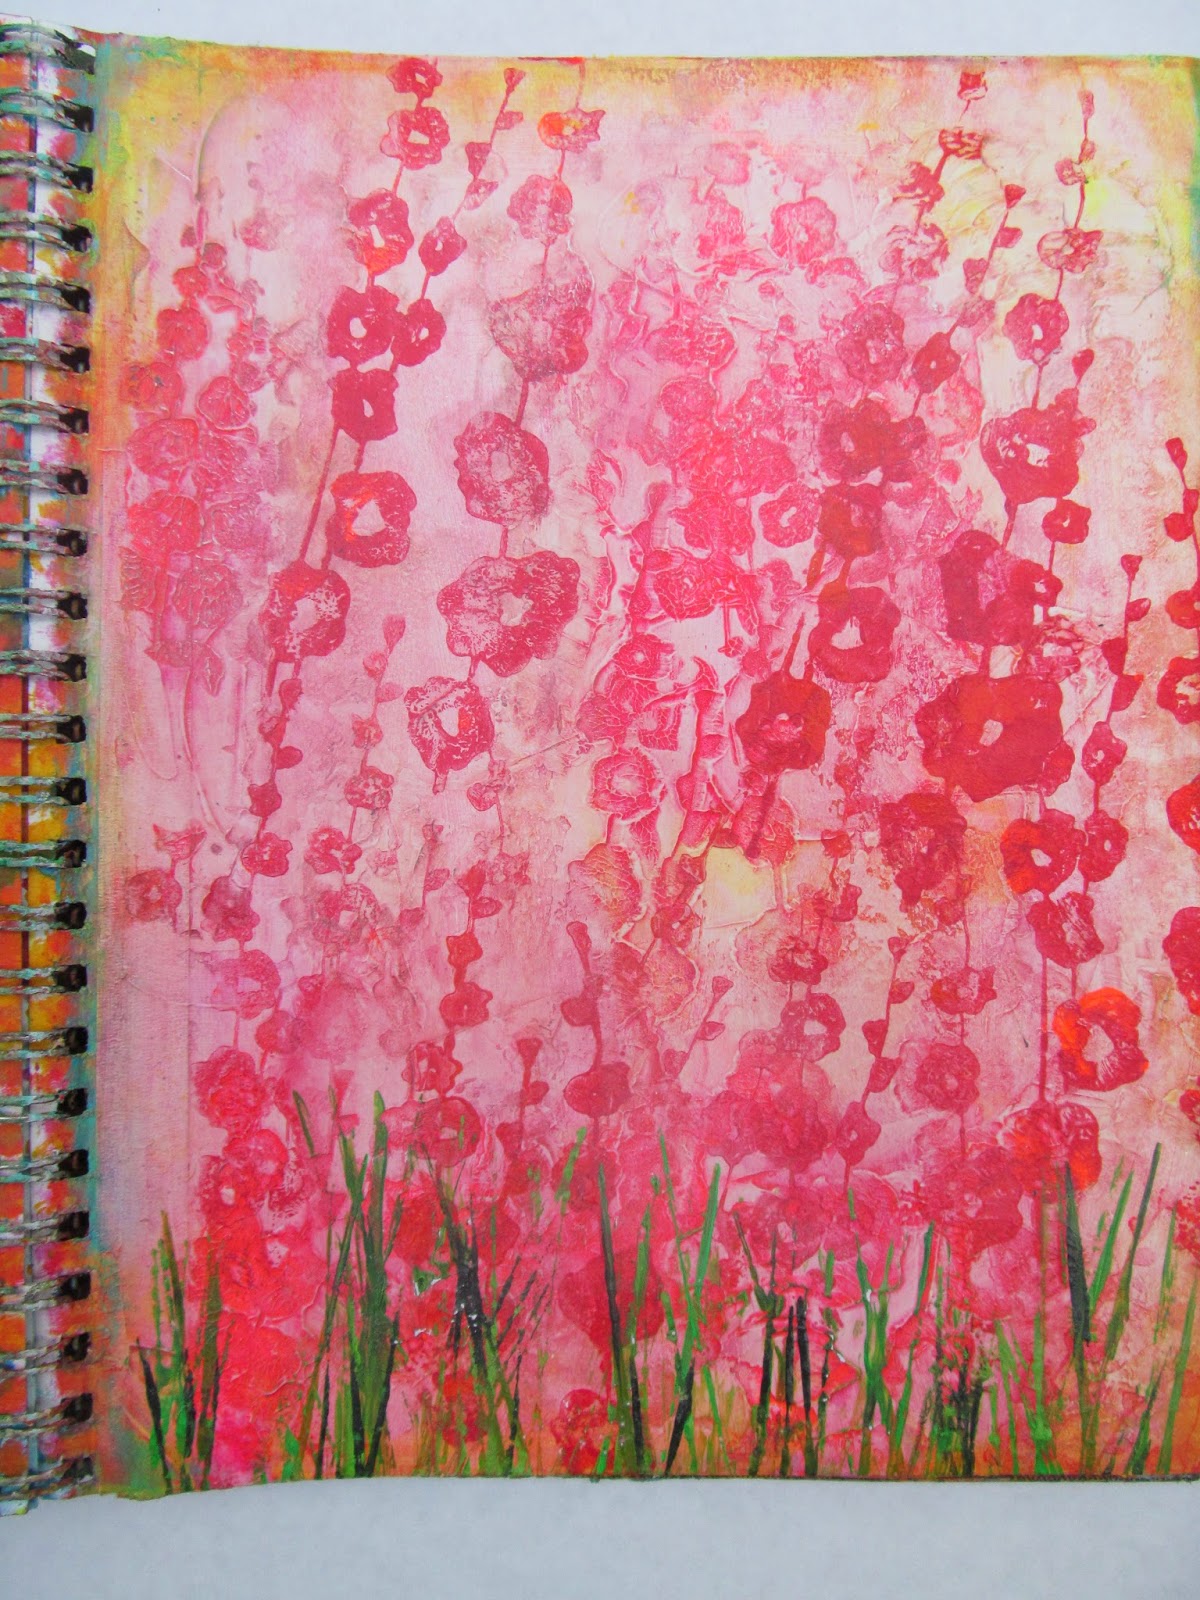 |
| Pink Poppies 2 |
So what do you think? Give me some suggestions as to how I can finish some of these. Don't be shy!! I'd love to read your comments. Can't wait to share my latest canvases later this week.
I'm linking this post to
Paint Party Friday,
The Artistic Stamper, and
Julie Balzers' blog. These blogs are great sources of inspiration so check them out!


