Showing posts with label Golden Fluid Acrylic Paint. Show all posts

Wednesday, November 4, 2015

Catching Up on Inspiration Wednesday

I got really behind with Inspiration Wednesday and spent a few days catching up.  So I thought I would share my completed pages. Those of you who take the online class will know a bit more about these pages.  For those who don't, Inspiration Wednesday is a bi-weekly art journal class online taught by Donna Downey.  Click on the link to find out more information.  

7-08


This one is a tribute to my constant companion, Lucy, my long haired dachshund.  My daughter used to draw pictures of her and I wanted to copy her since I didn't have an original. I also decided to use 2 inspiration journals instead of adding another signature to one.  So this is the first page in the second one.  

7-22


This one is just so weird looking.  I used papers that I had made a long time ago using National Geographic magazine pages and CitiSolv cleaning concentrate.  If you want to know more about this process, check it out here.  

8-08


First of all, I LOVE using fabric in this journal.  It really strengthens the pages and gives me a pattern to work with.  You can hardly tell that I used a black and cream butterfly pattern because I piled on so many layers.  I love this page and am doing a canvas that I will share in another post.  

8-22


This page is one of my favorites.  I used some Chinese newspaper for the image transfer on one side and book text on the other.  The newspaper worked great so I will be using that again! I used a Stencil Girl globe stencil for the large circles.  

9-02


Another favorite, this one was surprisingly easier than I though.  I plan on putting this on a canvas in the future too.  

9-16


I used a few deli paper gelli prints for the background of this one then found this sketch of a face that I made a while back, cut it out and slapped it on.  Added some gesso and yellow paint, the stamp and the tag and was done.  Fastest one so far! It's a bit chaotic, but I love the bright colors.

9-30


I didn't have the same stencil so I used a circle stencil with another stencil inside the circle.  I used word stamps but went over them with a calligraphy dip pen and india ink, which worked out well.  

10-14


I love how I am using lots of things I have laying around in this process!  I especially like the tag above that I had embossed and put in a drawer.  It worked out perfectly for catching colored glaze in the nooks and crannies!  I added some copper and gold paint to some of the raised areas, and the stamp, "you will shine".  

I'd love to hear from you so leave your comments below and let me know which one is your favorite! 


Friday, January 23, 2015

Inspiration Wednesday # 2

Here is my second Inspiration Wednesday journal entry and I'd like to name it, "Hot Mess!"  I am not a big fan of collage, at least when I try to create one!  Knowing this isn't my forte' I tried to keep the collage elements across a horizon line to contain it a bit.


I used ephemera, a clothing tag, old pictures, rub-ons, stencils and molding paste, inks, and paints with glazing fluid added.  Not really sure I am loving this one, but the whole idea is to try it and learn from it. Next time I do collage, I will keep it more simple. I wanted to use a blue and gray color palette, but it needed brightening up so I added a bit of transparent yellow.  What do you think?  Leave a comment below.  Thanks for visiting my blog!.  

Saturday, January 10, 2015

Inspiration Wednesday Week 1

I recently joined the online "Inspiration Wednesday" class.  Every other Wednesday Donna Downey will do a video for members and work in her inspiration journal.  Click the following link for more info:
http://www.donnadowney.com/online-workshops/inspiration-wednesday-2015-membership.html

Here is the page that I created using inspiration from Donna's video:


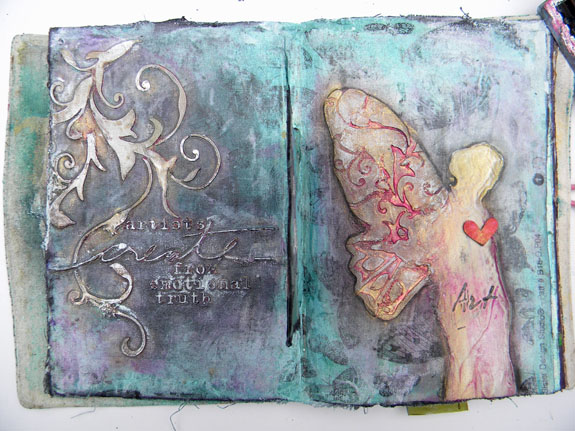
In the video, Donna uses a number stencil for the date, but I had trouble because the numbers weren't in order and I kept smearing the molding paste.  So I used my Silhouette Cameo die cutting machine to cut out the date and the Eye of Horus image.  I used the negative of the die cut and it worked perfectly! Then we used more molding paste to make the word "artist" using old fashion stencil letters.  After letting all that molding paste dry, we used paint and glazing liquid to stain the pages.  I painted on turquoise paint and Golden's Glazing Liquid, waited a few minutes, then wiped it off with a baby wipe. I dried the pages, then added a second color, a mixture of bright green and green gold, using the same method.  After the paint was dry, I used archival ink and rubbed it over the surface to enhance the raised areas a bit more.

What is the Eye of Horus, you ask?  Well, it's kinda complicated, but in a nutshell The Eye of Horus is an ancient Egyptian symbol of protection, royal power and good health. Here is more information about it: 
http://www.whats-your-sign.com/eye-of-horus-meaning-and-tattoo-ideas.html
I love the image and think of it as a symbol of protection, insight, and intuitiveness.  
I enjoyed this lesson and will definitely incorporate the techniques into future projects.  I'd love to hear what you think so leave a comment below!


Tuesday, August 19, 2014

Summer Art Journal Pages

Well, I've had a creative summer with a nice vacation thrown in and want to share some of my journal pages.  Note: I have lots of links thoughout this post, so just click on the highlighted names to see more info or a related video.

I got a bunch of Stencil Girl stencils recently and had fun playing with them in the following two page spreads. They are designed by Traci Bautista.

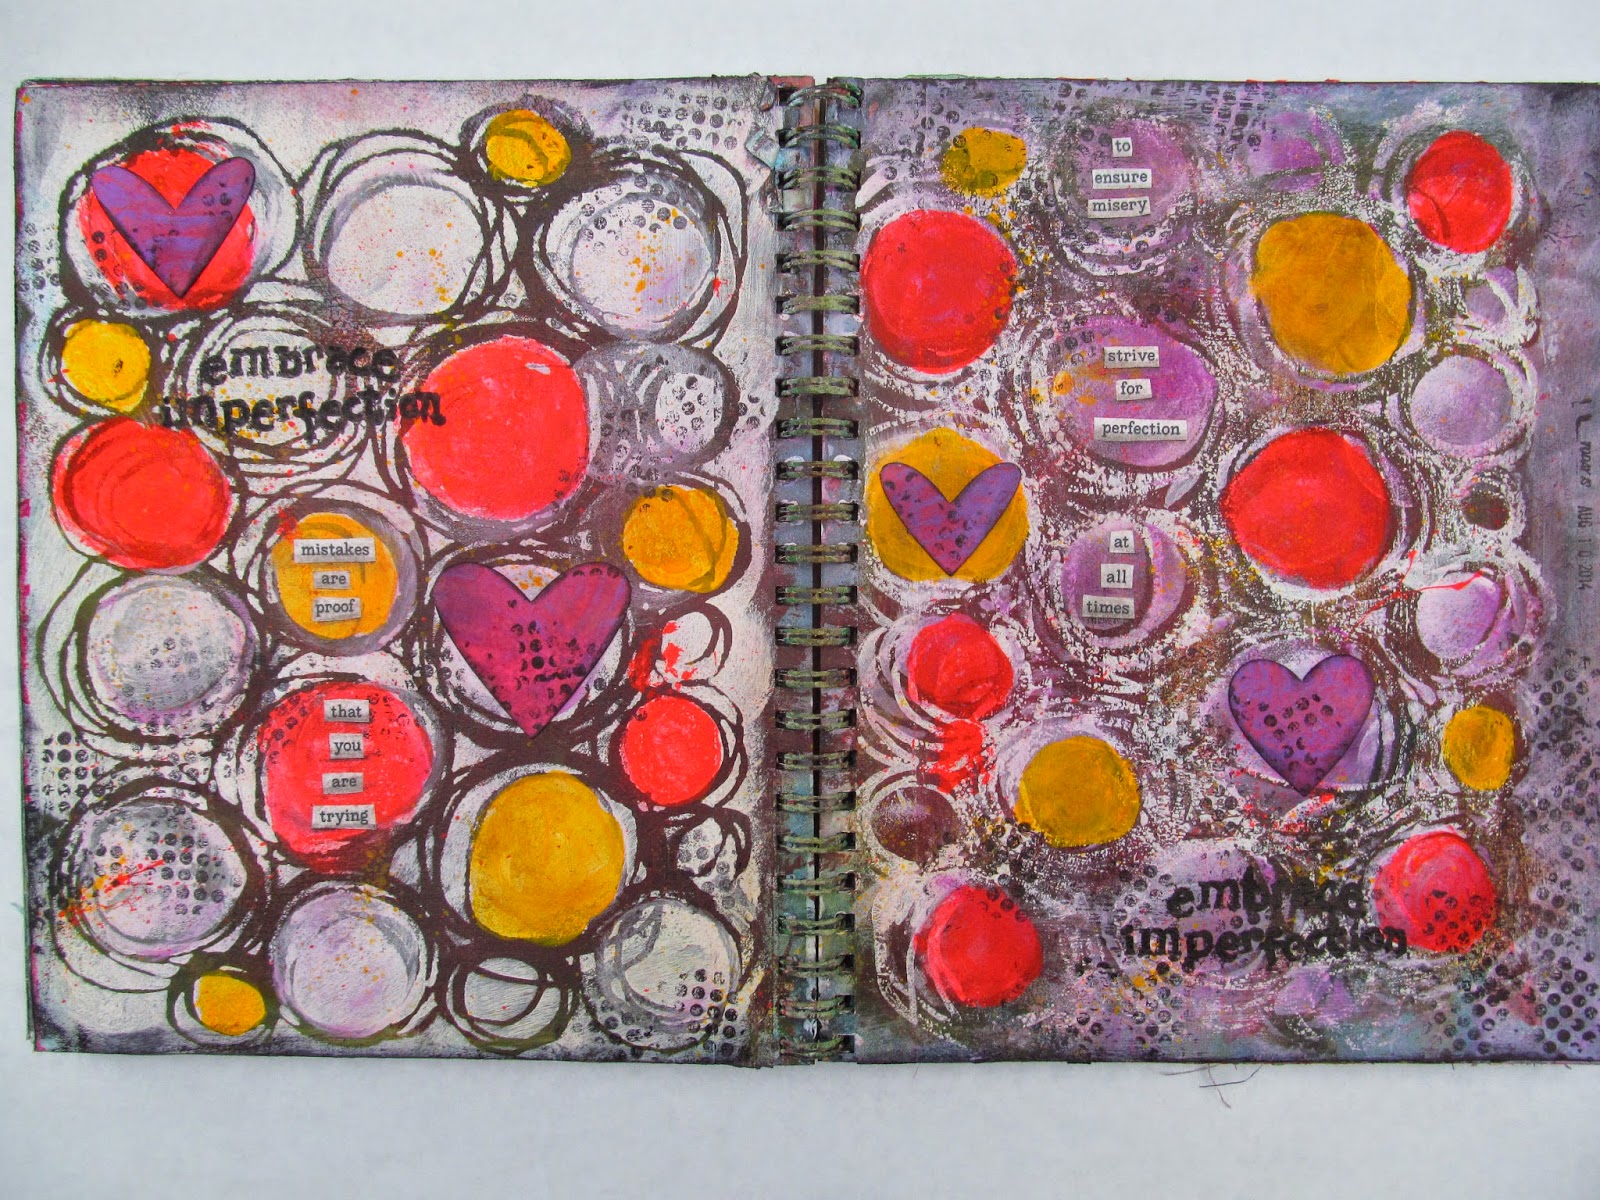
Embrace Imperfection
The first quote reads, "Mistakes are proof that you are trying." The second quote reads, "To ensure misery, strive for perfection at all times." Attention all perfectionists (including me): Read those quotes 10 times daily!  Caroline Dube's video using the circle stencil inspired this page. I also used Tim Holtz "embrace imperfection" stamp.

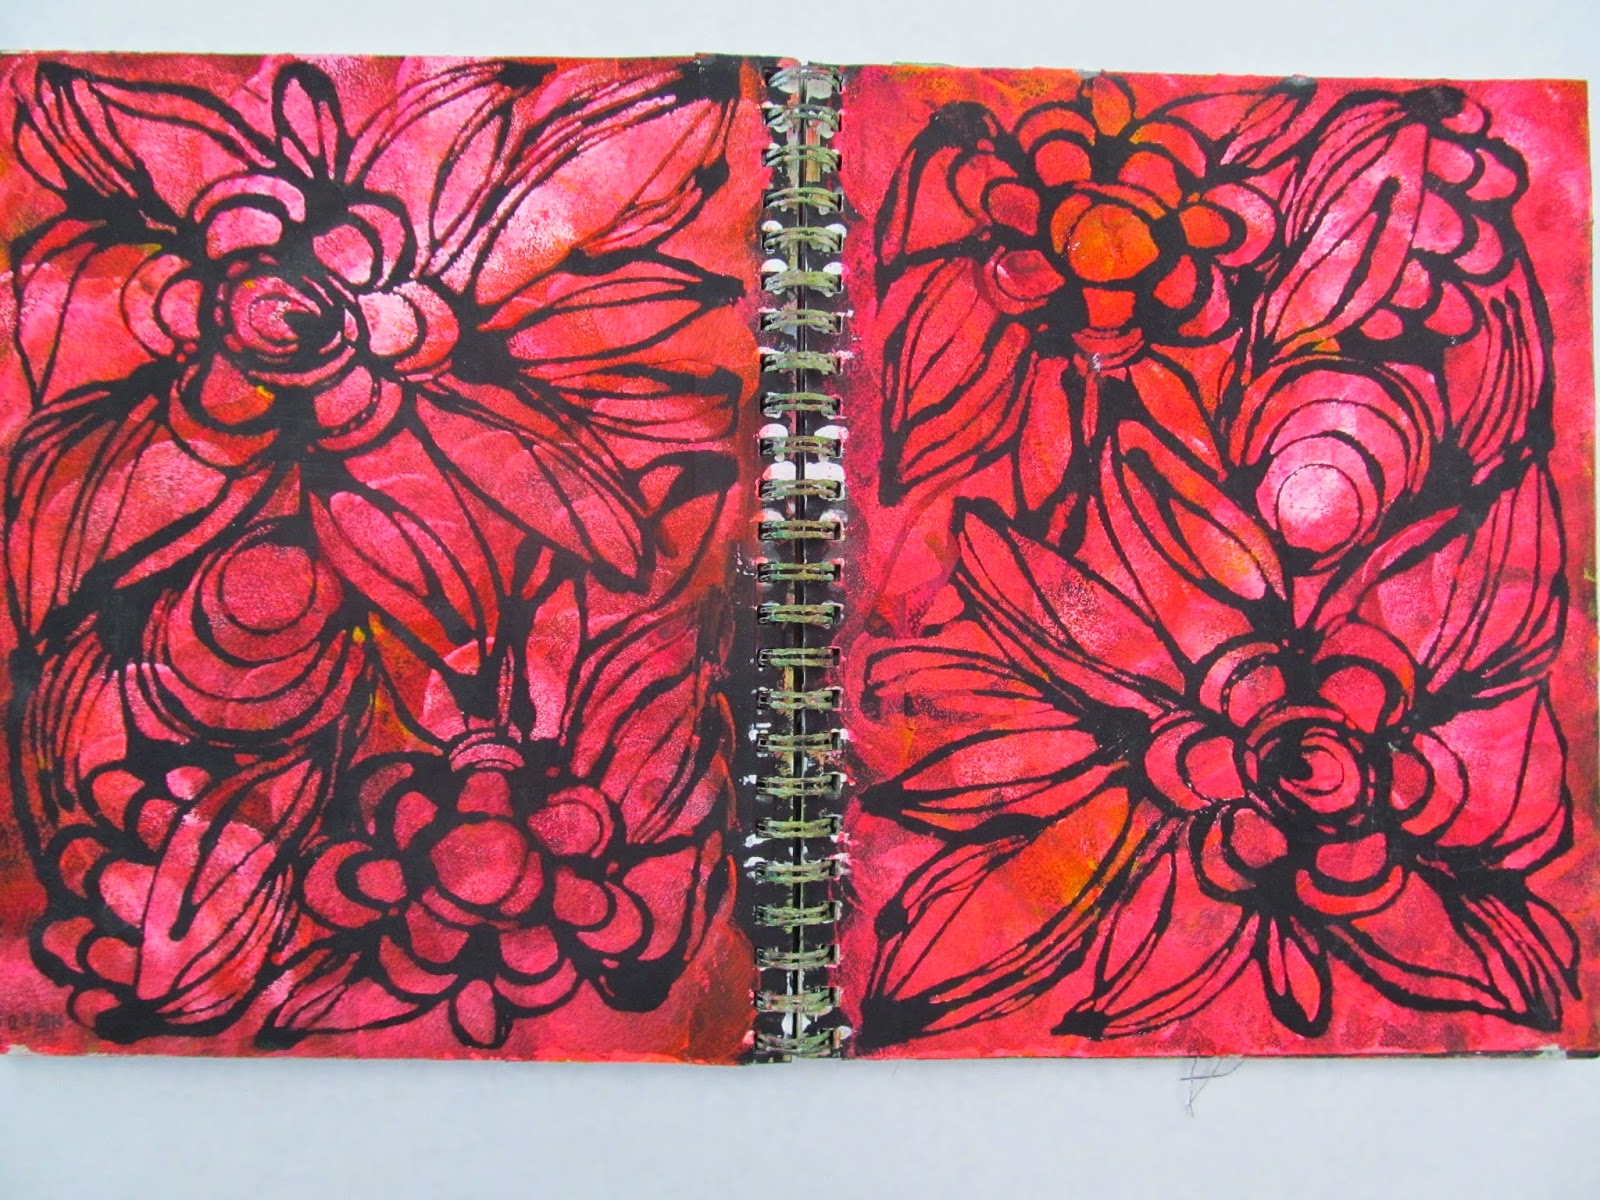
The page below was inspired by a video made by Traci Bautista using her flower stencil. I primed the pages using black gesso, then sponged magenta, orange, and white acrylic paint through the stencil.  I really love these stencils and have used them many times already in different projects.

Traci Flowers

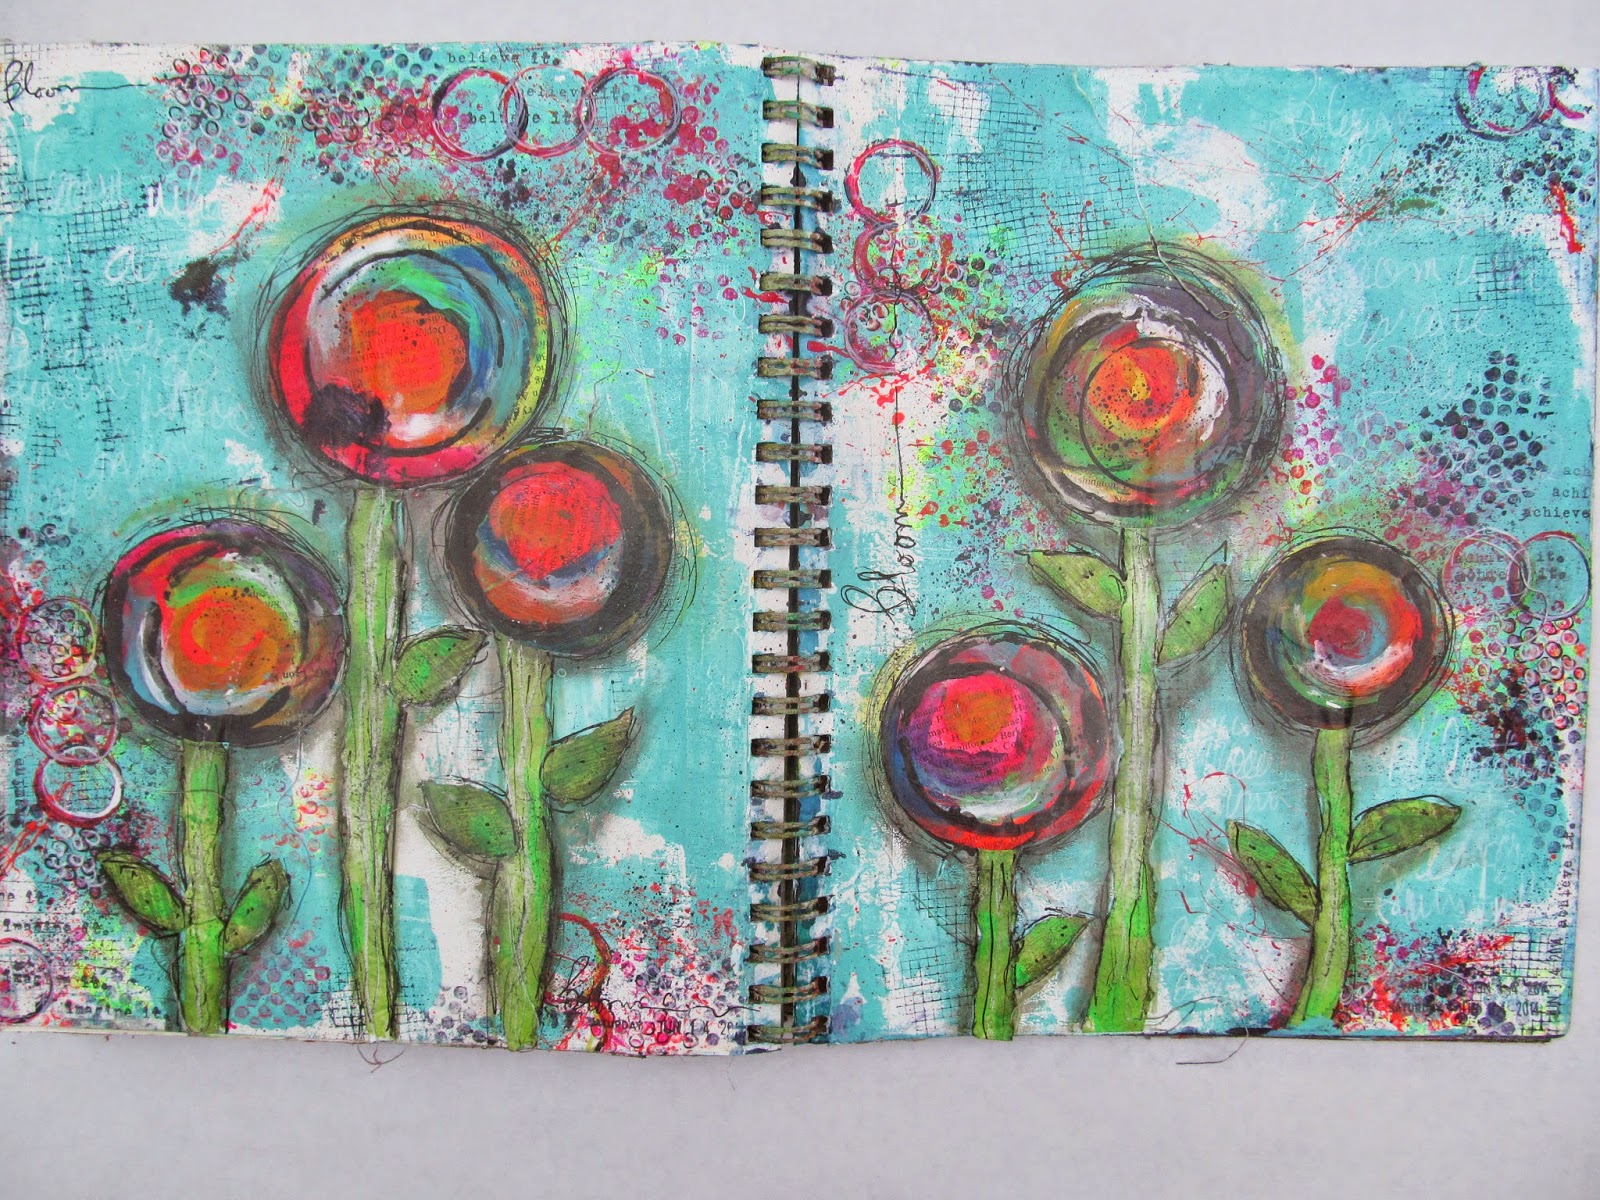
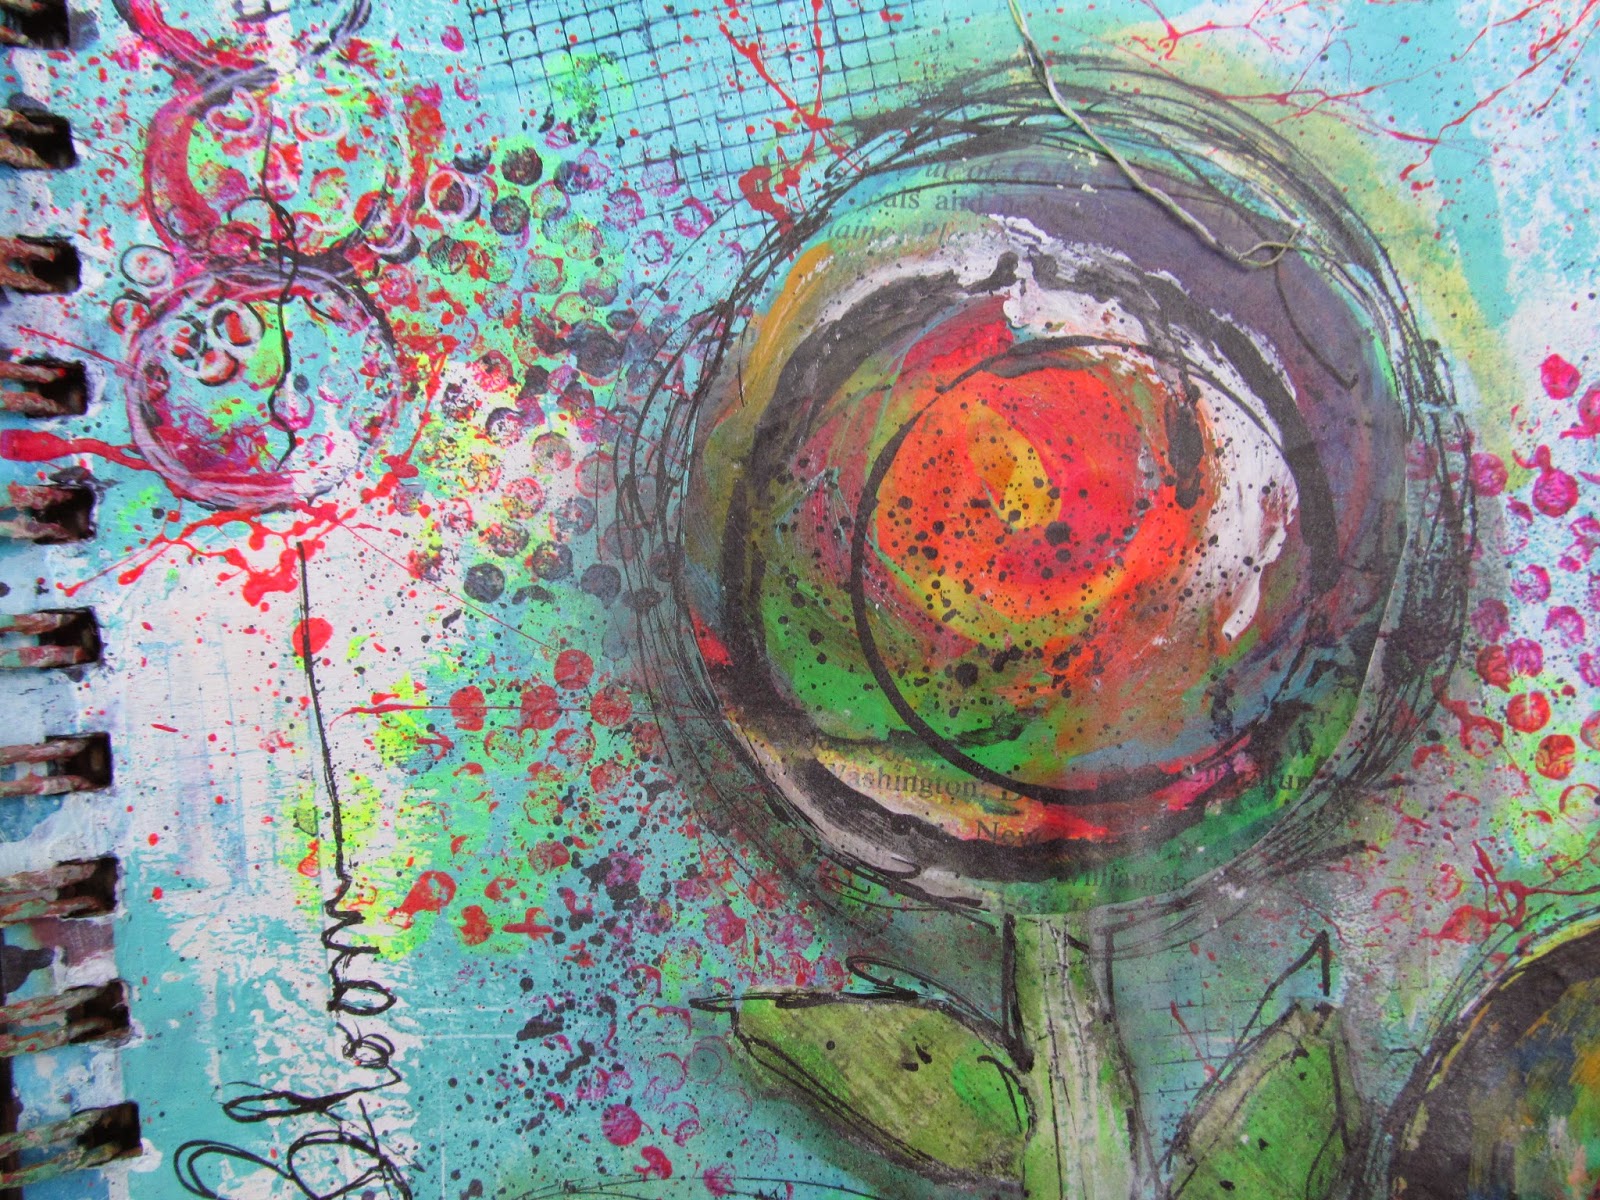
I used Dina Wakely's acrylic paint in turquoise for the background of Happy Circle Flowers.  I LOVE her paints.  They are very creamy, dry to a matte finish, and the colors are so beautiful and vibrant!  I watched a video a few months back about making these colorful circles and I wish I could  find the video to link it.  I painted a bunch of them and cut them out and made flowers for this page spread. I also did some sewing as well.  What is it about circles that makes me so happy!!!  
Happy Circle Flowers
Happy Circle Flowers Detail
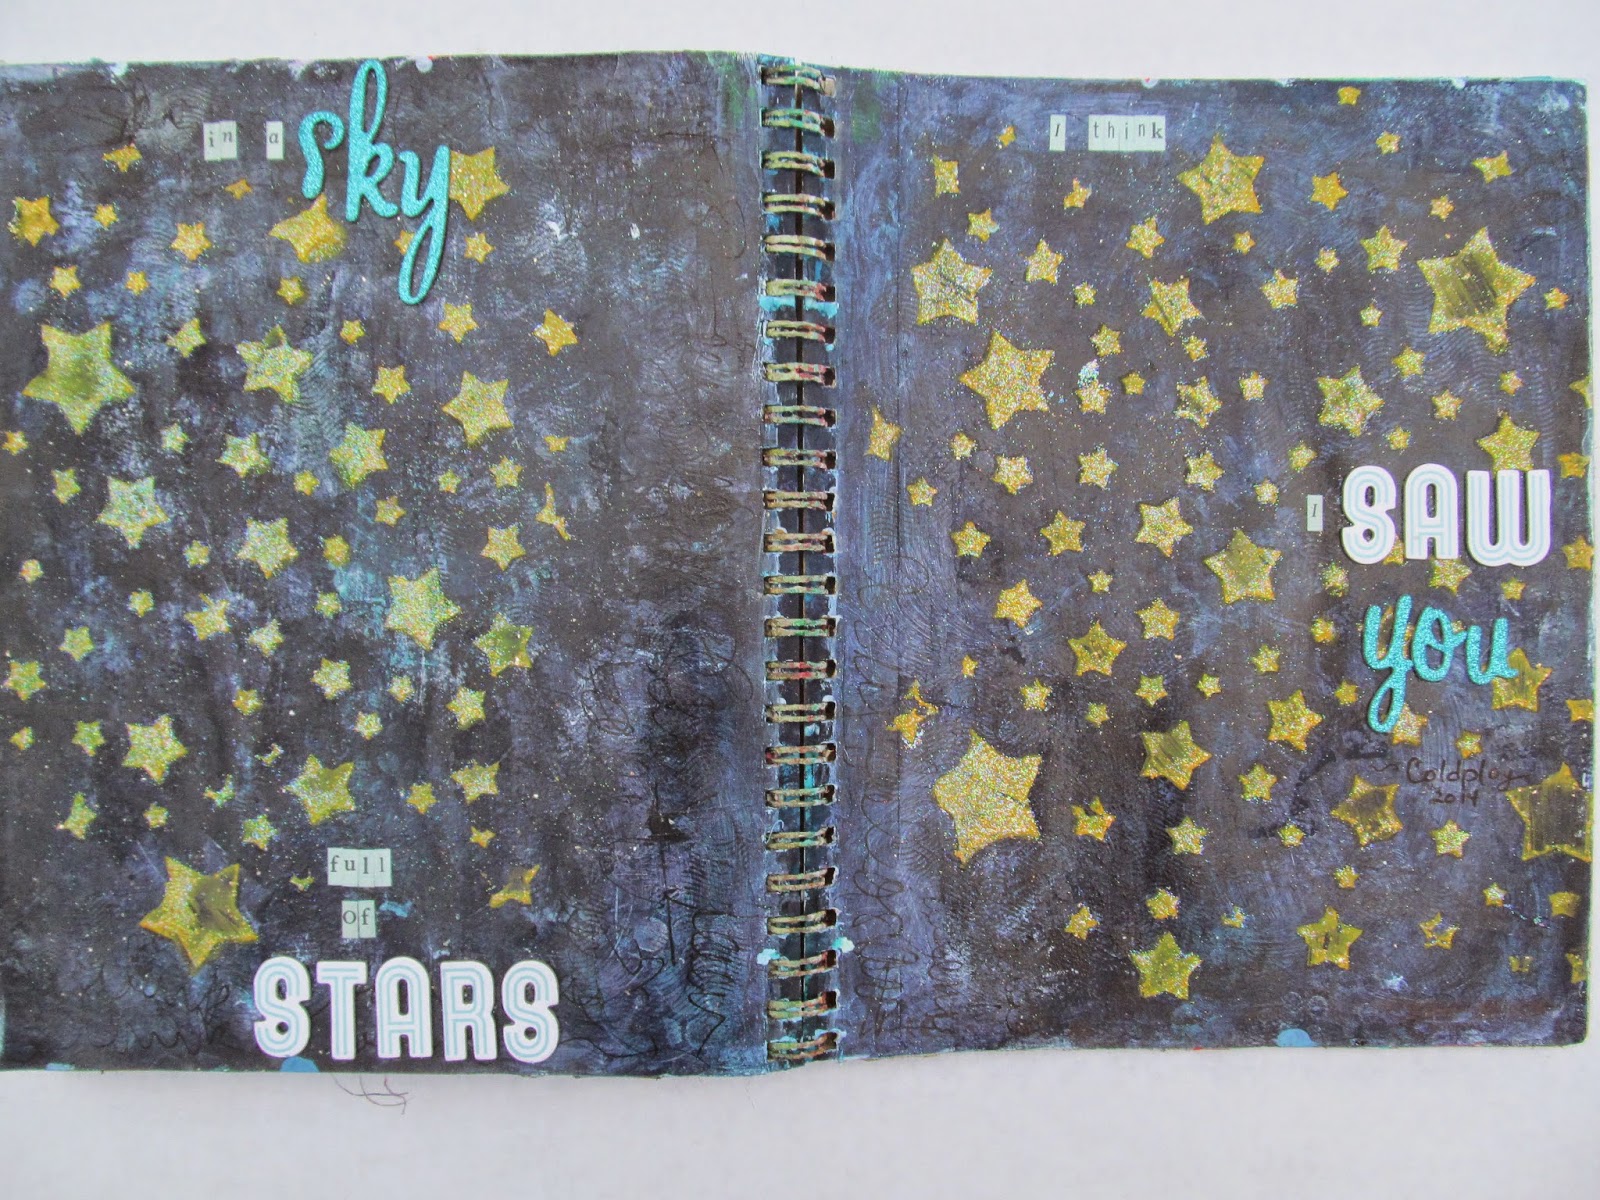
My favorite song this summer is "Sky Full of Stars", by Coldplay and I was inspired to do the following page spread.  It reads, "In a sky full of stars, I think I saw you."  Such a happy, positive song!!!
Sky Full of Stars
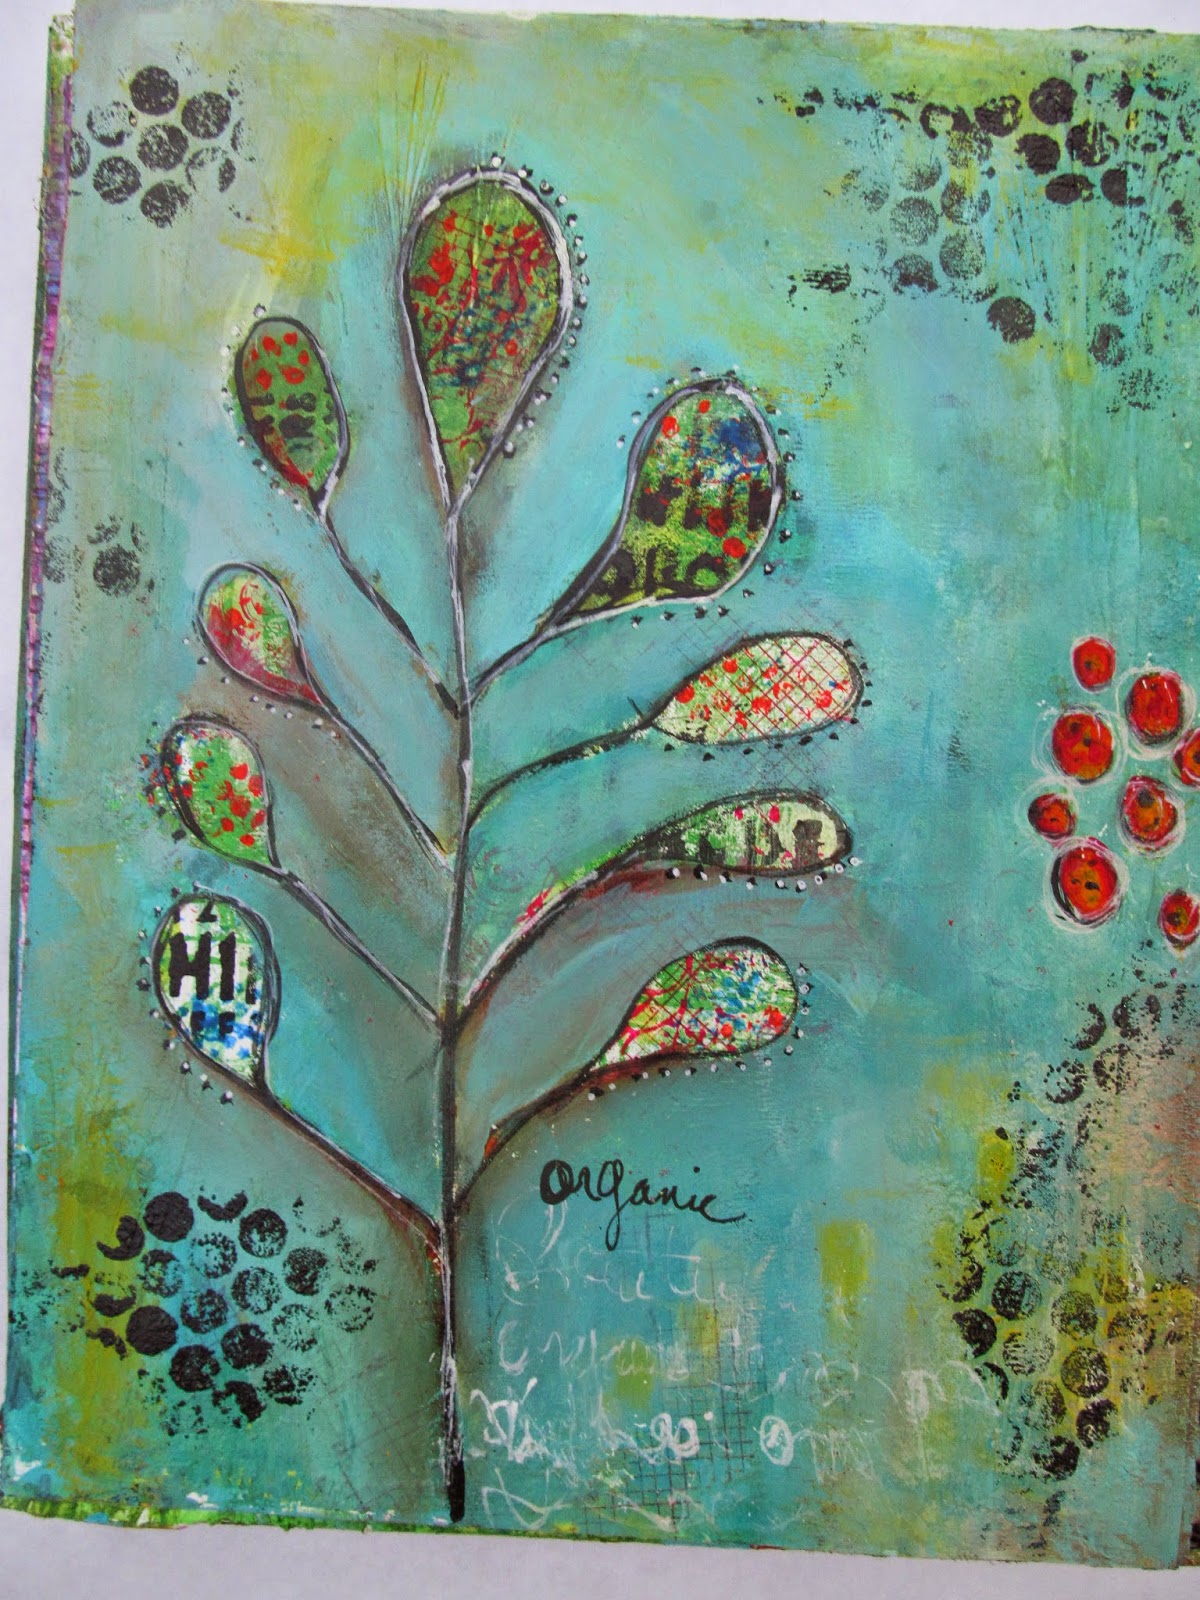
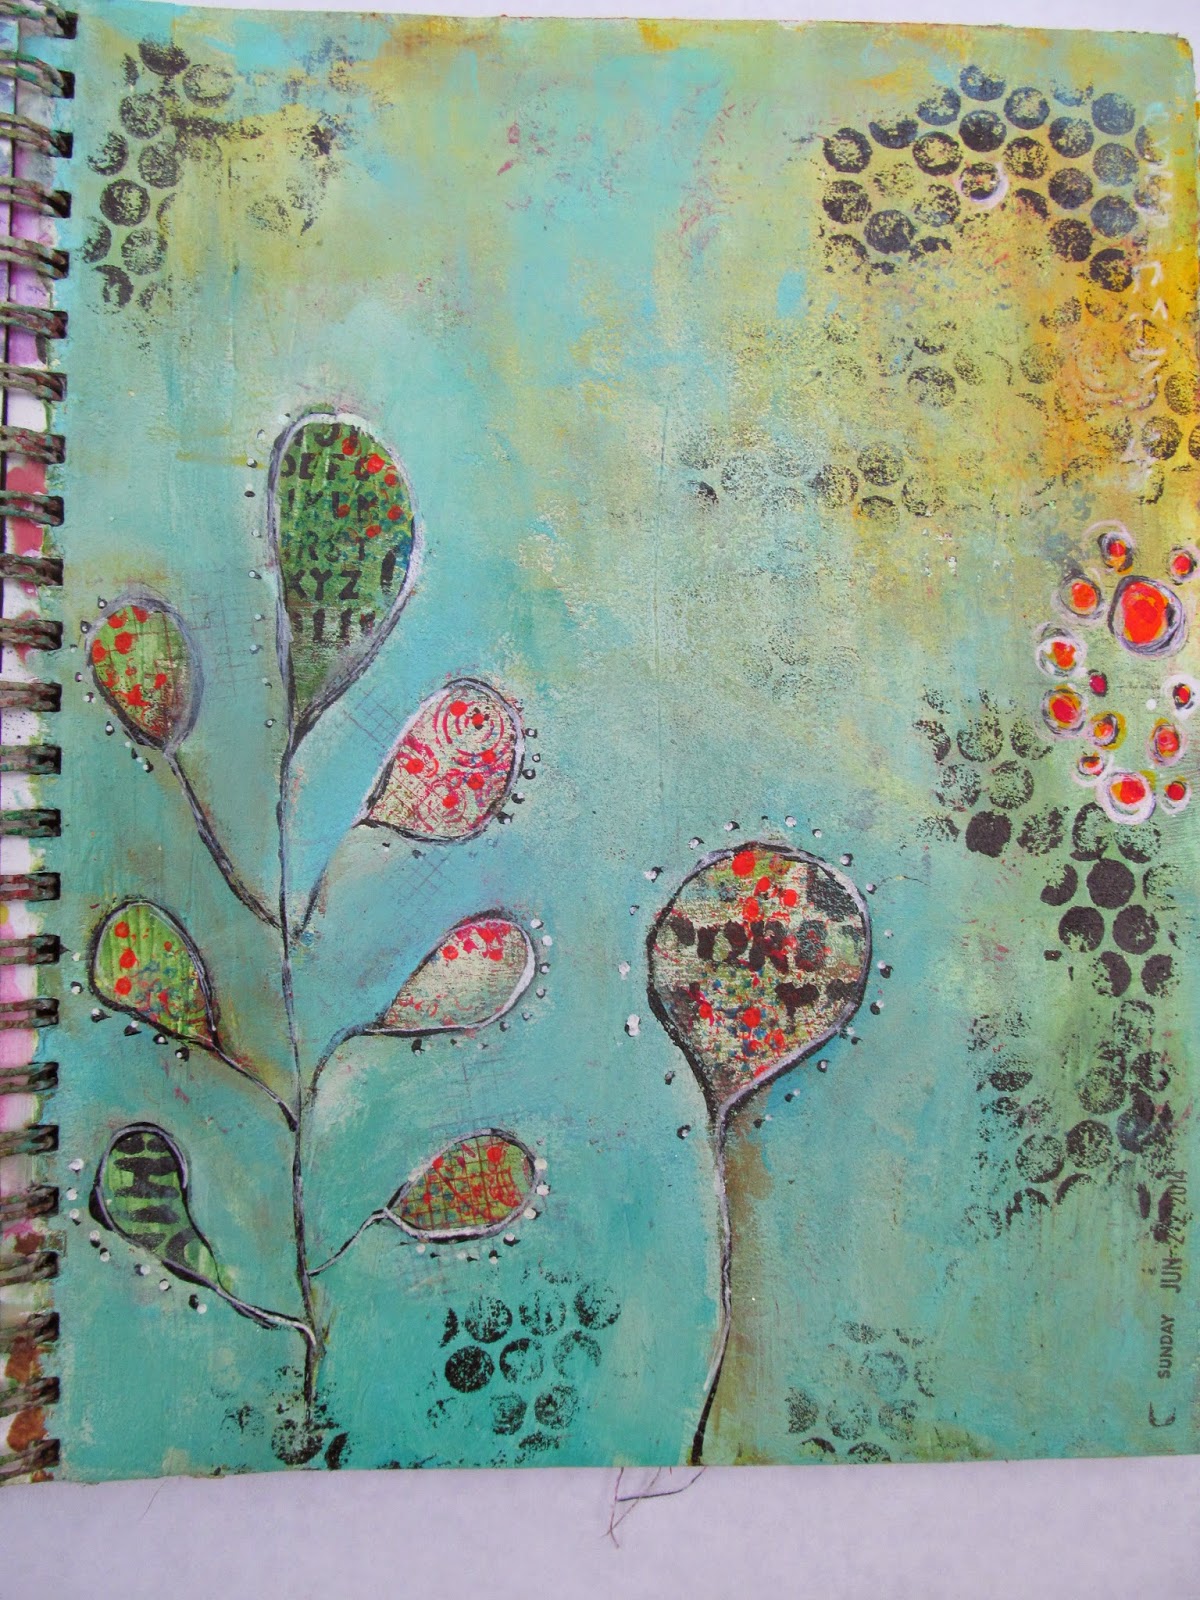
I sometimes use my art journal to clean off stencils and use up excess paint. I had one of these pages and decided to use a technique that I've seen artists use to restore order to the chaos.  I drew the organic shapes with a pencil over the messy page, then painted the background around them in blue, letting the chaos peek out through the shapes.  I don't think it's finished, but it's much better than the mess I had before.

Organic 1
Organic 2
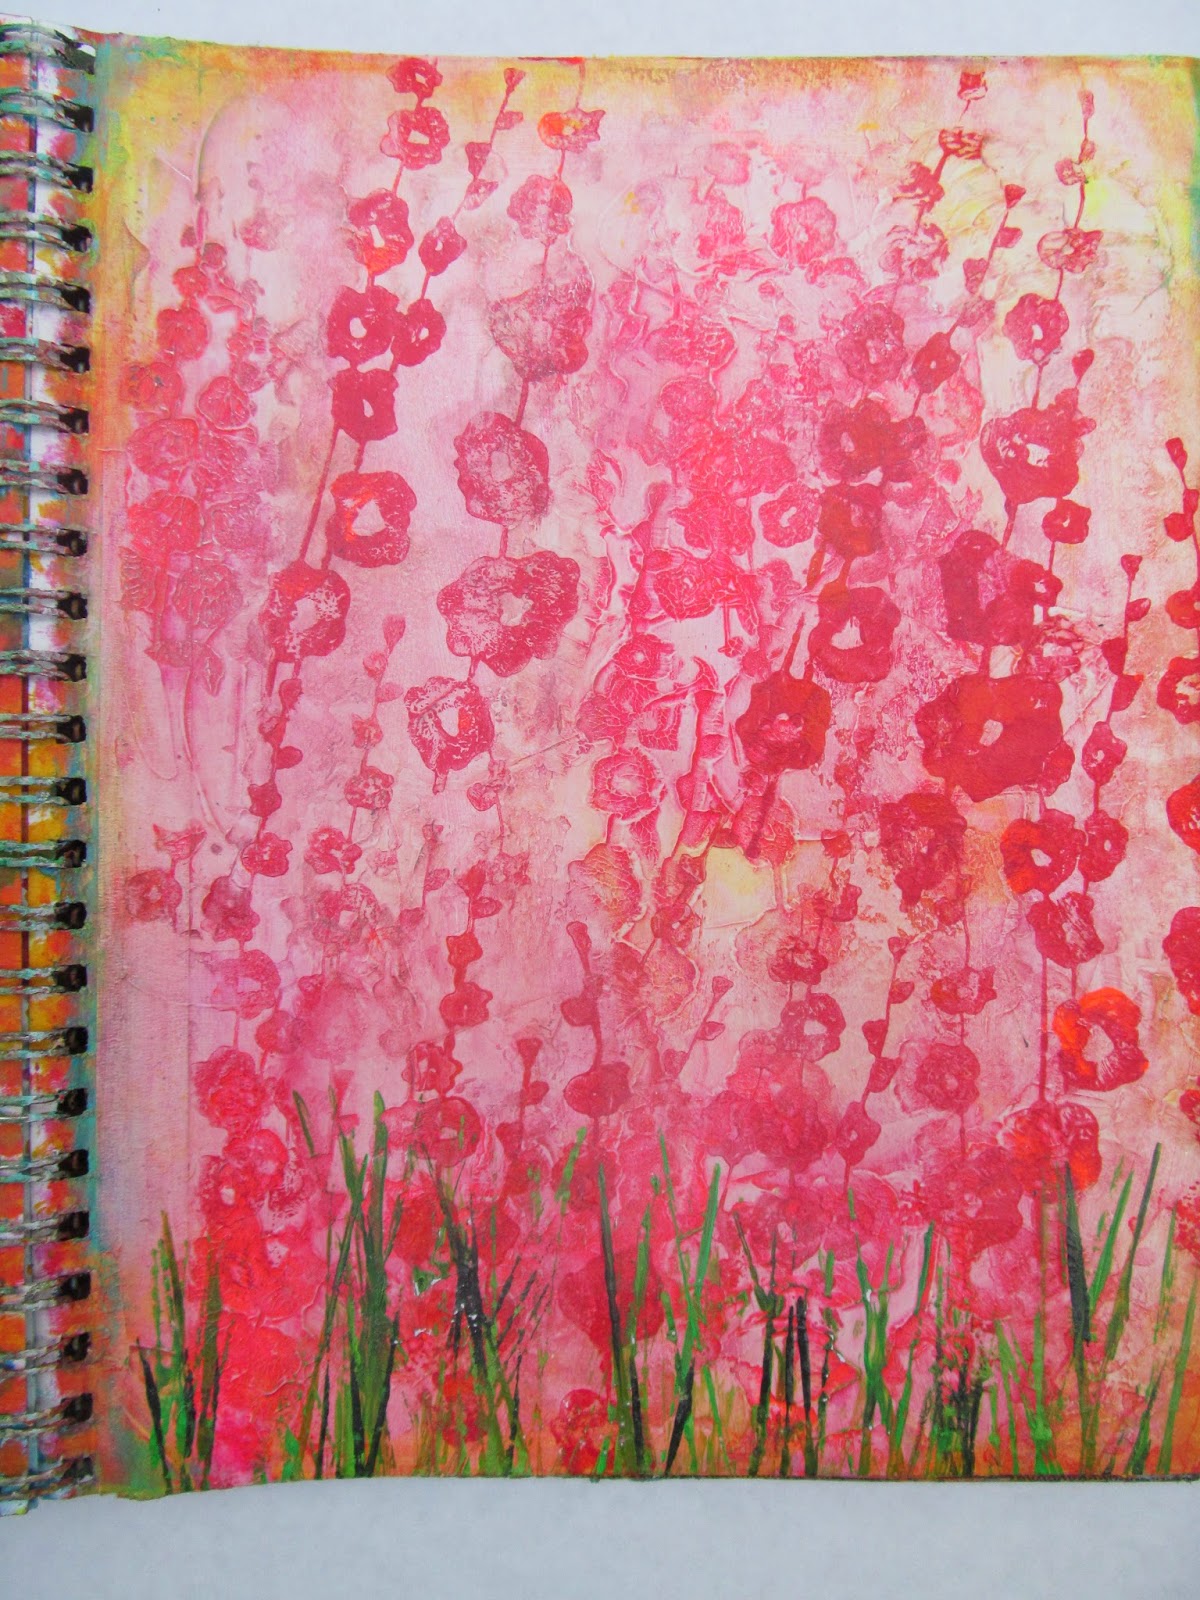
I'm not a big fan of pink, but I love to combine magenta and orange.  I used molding paste and stamped a poppy stamp into it, then let it dry.  I used various colors over the page and it ended up too pastel pink for my liking.  Then I used brighter magenta and orange paint, using the same poppy stamp to define the poppies and add some brightness. I used the edge of an old key card to add the grass at the bottom.  I think it needs some butterflies or something.
Pink Poppies 1
Pink Poppies 2


So what do you think?  Give me some suggestions as to how I can finish some of these.  Don't be shy!!  I'd love to read your comments.  Can't wait to share my latest canvases later this week.
I'm linking this post to Paint Party Friday, The Artistic Stamper, and Julie Balzers' blog.  These blogs are great sources of inspiration so check them out!


Tuesday, February 11, 2014

Flowers in Winter

I was inspired by one of Donna Downey's Inspiration Wednesdays where she took scrapbook flowers, glued them in her art journal, and painted over them.  I liked the idea so much that I made 3 canvases using the same idea. This is a great way to use your scrapbook supplies in a new way.

Purple Flower Canvas

Detail


I glued 9 various sized flowers to an 8x8 canvas, and covered the whole thing with gesso. Since I can't seem to complete any project without using molding paste, I added it to the sides and background of the canvas. After it was dry, (it was so hard to wait!) I added turquoise and magenta paint and it started looking purple. So I let everything dry and added glazing medium to the subsequent paint layers to create depth of color.  I ended by splattering some bright pink all over it.  After everything dried completely, I painted embossing ink randomly on the canvas and sprinkled ultra-thick embossing powder all over, then heated to reveal random shiny areas that look kinda like dew or raindrops. The pictures don't do it justice!  It looks so cool!!

Pink Flower Canvas
Detail

Turquoise Flowers
  
Detail
Detail

The turquoise is my favorite canvas.  The colors in the detail photos are more true to the real canvas. I couldn't seem to get a good photo of the whole canvas and wasn't willing to go out in the freezing rain for natural light!  I added gold metallic paint to the petals and that really brought out the flowers' details.    

I am entering these canvases in the Scrap Around the World blog challenge for February. Here is the link to their website:  http://scraparoundtheworld.blogspot.com/2014/02/january-2014-wall-of-fame-our-first.html


February Mood Board 
I LOVE the bright, springy colors in their mood board this month and that is what inspired me to enter my canvases.  Thanks for visiting and please let me know what you think in comments below.

Saturday, February 8, 2014

Art Journaling

I've been working a lot in my art journal lately and wanted to share some finished entries.  I love the idea of an art journal and strongly believe every creative person should have one. This is the place where I play with new techniques and different color combinations, or try a new products, without the pressure of a canvas or scrapbook page. I have at least 2 art journals going at the same time because many times I have extra paint that I don't want to waste, or stencils that I clean off on one journal while working in another journal.  I've worked in Strathmore Mixed Media spiral bound journals but more recently love working in the Ranger Dylusions journal.   Ok, enough jibber jabber!  


Strathmore journal cover that I altered.


My altered Dylusions journal cover.  I highly recommend this journal since the pages lay flat giving me a larger area to work with since it is not spiral. Sometimes I tape the middle to keep the paint from seeping through to the other pages.  You can buy them here:


I used my January Stencil Club peacock stencils to create these pages in my Strathmore journal.  Such beautiful stencils!! Here is a link for more info on Stencil Girl art stencils.  http://www.stencilgirlproducts.com/Default.asp


Below I used a The Crafter's Workshop arrow stencil.  

Ride

The bicycles are napkins that I glued to the painted background using  matte medium. Then used molding paste with the arrow stencil and glazed over the whole thing with Cobalt Teal Golden paint.


I started with a very colorful background and used a gate stamp and Dylusions vine stamps.  LOVE how this one turned out!


Used the December (I think) Stencil Girl stencils to record our freezing weather we had a few weeks ago.  It was below 10 degrees and our heat stopped working in the middle of the night!!! We had it working by the next day but I froze my tail off!!!   Record lows for South Carolina!

So, what do you think?  Let me know below.........